
We've heard a lot about Aquaponics / Hydroponics and never gave it much thought until someone explained it in simple terms.
"Fish Poop, Fish Poop is pumped into Grow Beds, Plants eat Fish Poop, Plants Poop, Plant Poop is pumped into Fish Tanks, Fish eat Plant Poop.": We then go fishing and eat fish and plants. Simple?
These systems can be set up anywhere. I chose to make a dedicated table for ours. We already had the countertop for another project so that didn't cost anything.

There are 3 components for a basic Aquaponics system. The Fish Tank, The grow Beds, and The Pump. We used two storage bins from Rona to use as our Grow Beds. They were flat bottomed, 10 inches tall, 24 inches long, and 16 inches wide, and big enough for a good starter system. The Fish Tanks, and Sump Tank (Where the pump is used) are 68l Rubbermaids.
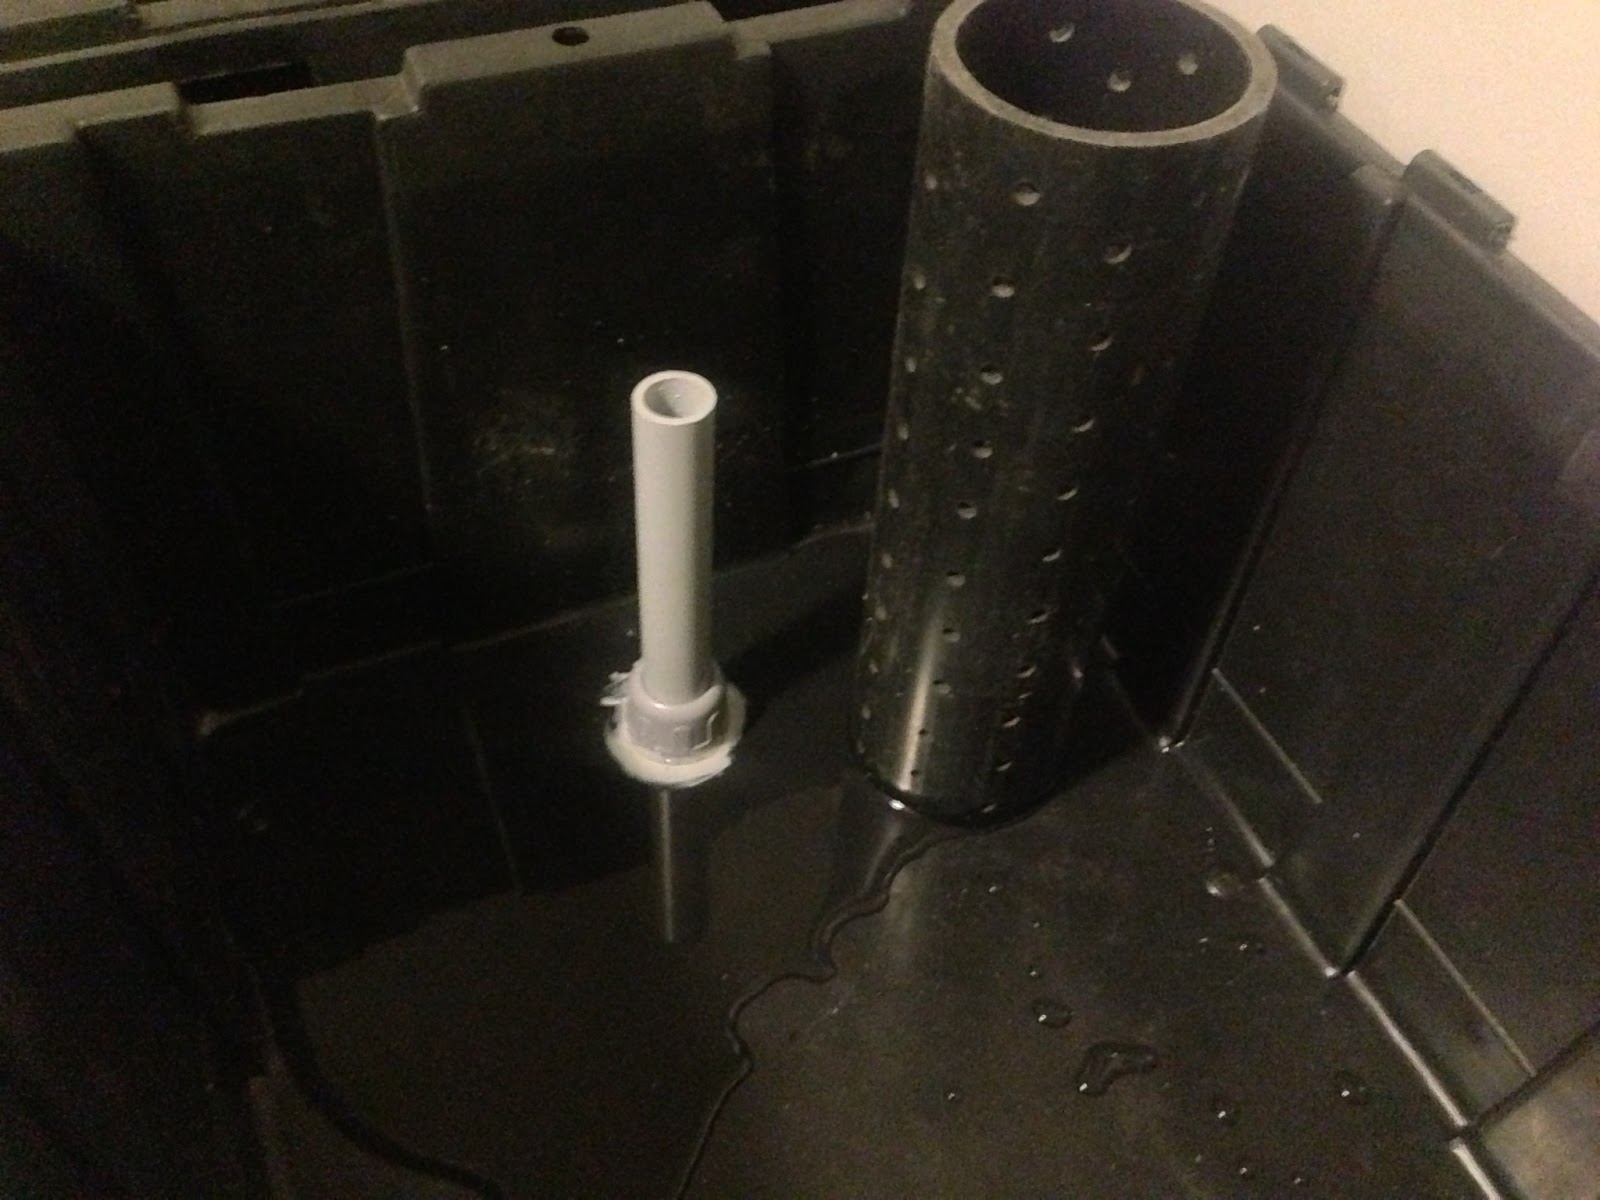
Each Grow Bed needs and intake and a drain. This is the drain system. The snorkel (white PVC) is 5 inches tall. This will allow the water to be pumped up to this height before starting to drain into the fish tanks. Timing can be off with the flow from the pump, so this design allows the pump to pump a little longer than needed without fear of overflowing the Grow Bed. The 3 inch ABS pipe with the holes in it allows the water to flow freely out the drain without fear of media blocking the drain. This keeps it away.
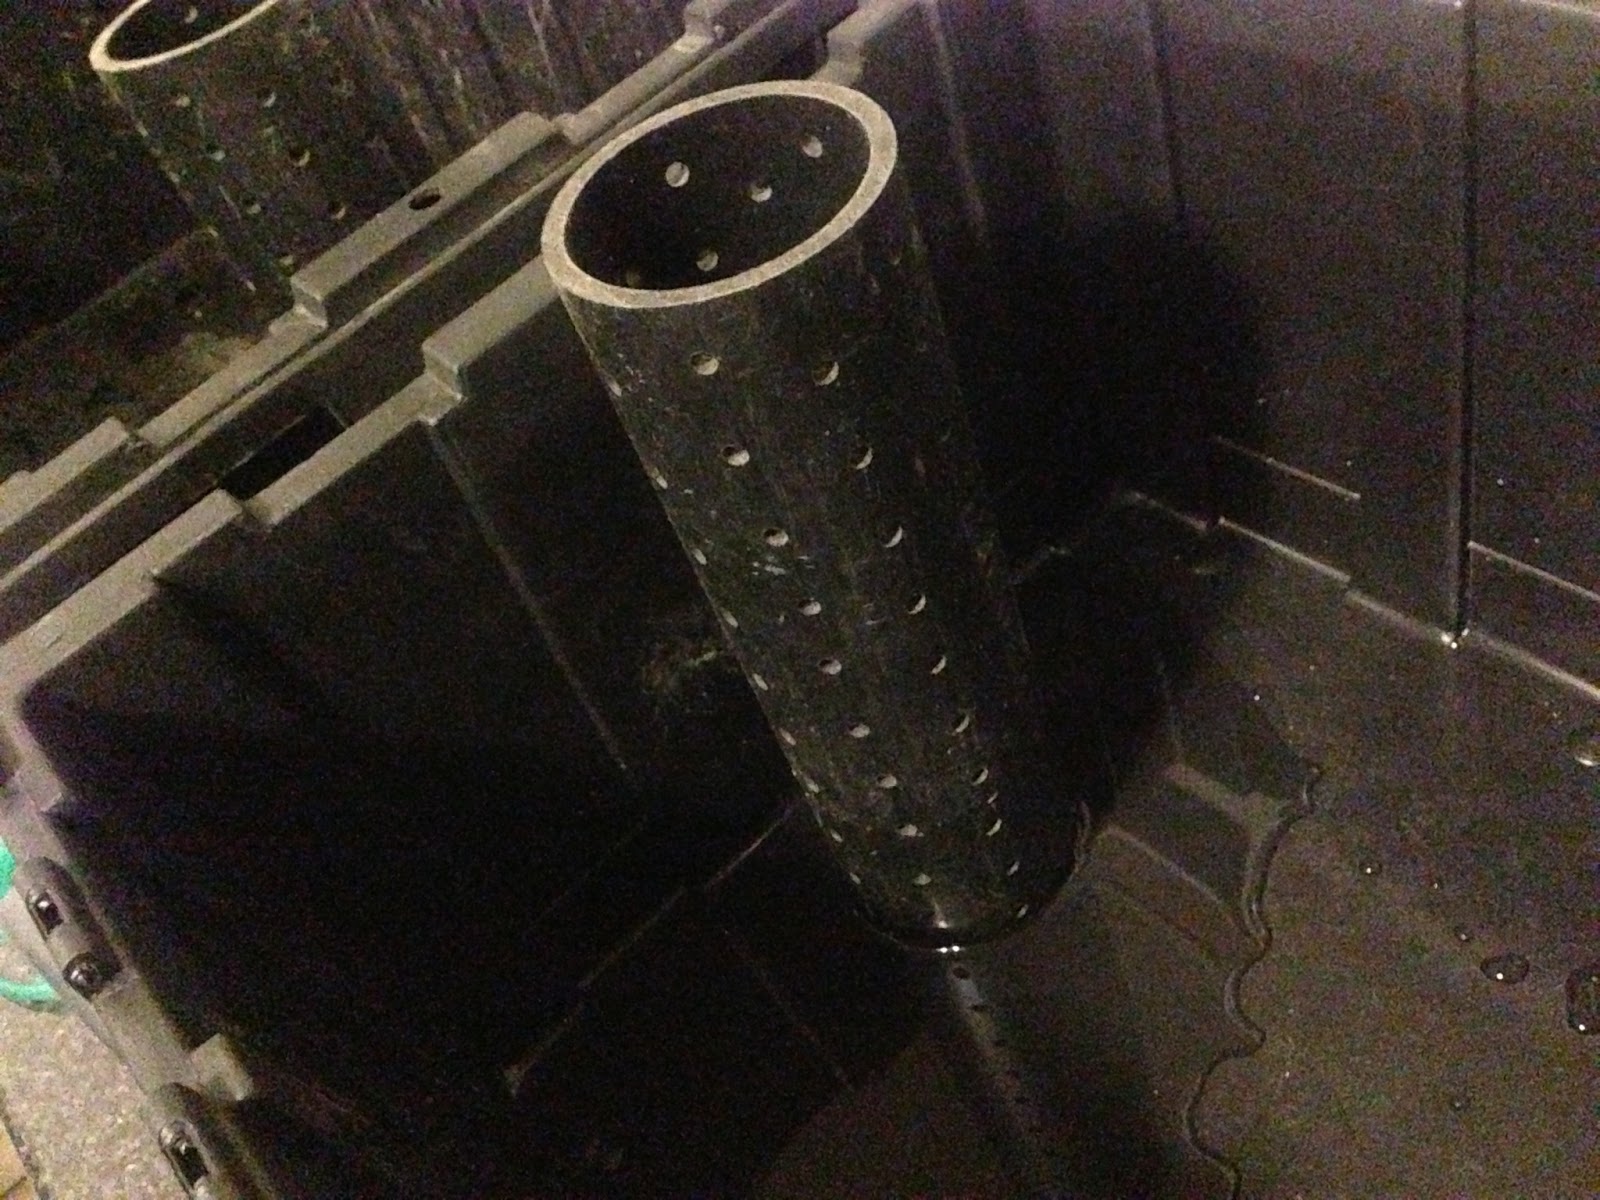
This photo shows the ABS screen tube in place over the PVC drain pipe.

Each Grow Bed needs to have an intake coming from the pump. We found these fittings at a local pond supply.

In order to keep the media from blocking the intake I made this screen tube from a PVC connector, with a screen glued to the top. This one fit onto the intake fitting perfectly. Media can be totally surrounding the intake and no worries of it plugging.

This Photo shows the PVC screen in place over the intake.

Under the table, is where the hoses are fitted. The yellow hose are connected to a T and then a ball valve, which goes to the pump. The clear tubing brings the water back from the Grow Bed to the Fish Tank. In the back ground you will notice a tube connecting the Fish Tank to the Sump Tank where the pump is housed. As the water flows out of the Grow Beds, it flows into the Fish Tank. Since there will be more water than the Fish Tank can hold, it now flows into the Sump Tank, full of Fish Poop, and ready for pumping into the Grow Beds. (NOTE the wood shelf in the middle, This houses an air pump to bubble oxygen into the fish and sump tanks.)

The pump must cycle long enough to fill the Grow Beds to drain level for a specified amount of time. Then it shuts off long enough for the water to drain out to the level of the PVC drain. All this water flows into the fish tanks where the nutrients from the plants feeds the fish..

This is the underside of the cabinet showing the intake hoses from the pumps

Note the ball valve on the pump hose. This allows more control over the flow of the intake, as well as a means of draining all the water out of the Grow Beds if needed.

Here Denise fills the beds with Hydrocorn, the media where the plants will grow. Make sure you rinse it thoroughly to remove dirt and dust. Now comes the fun part. timing the system and checking it for nitrates, nitrites and ammonia. We will cycle this for a few weeks before any fish and plants are introduced.
No comments:
Post a Comment